The Ultimate Guide To Using Python Requests For Web Scraping
Extracting data from the web is crucial for market research in today’s rapidly changing business world, and the concept of web scraping is becoming increasingly well-known to many. Businesses must prioritize information gathering to gain a larger market share, but manually collecting data can be very time-consuming. Automating this process with web scraping allows businesses to focus on other tasks.
Understanding how to use Python and its requests library can be very helpful to web scraping. The requests library is an incredibly powerful and easy-to-use tool that can be used to send HTTP requests. A firm grasp of the basics is often enough to create simple applications or scripts.
This article will discuss how to use Python requests to scrape web pages and go over the basics of web scraping. By the end of this article, you should have a good understanding of how web scraping works and be able to start using Python requests for your own projects. You can use the table of contents to skip ahead if you already know some of this information.

Web Scraping and Python

Python has become one of the most popular programming languages, partly due to how easy it is. Python also comes with many features that make it very appealing. It has an intuitive syntax that makes it easy to learn, and it also supports multiple programming paradigms, including object-oriented, functional, and procedural programming. Additionally, Python has a large standard library that provides numerous modules for various tasks such as networking, threading, databases, web development — and of course, web scraping.
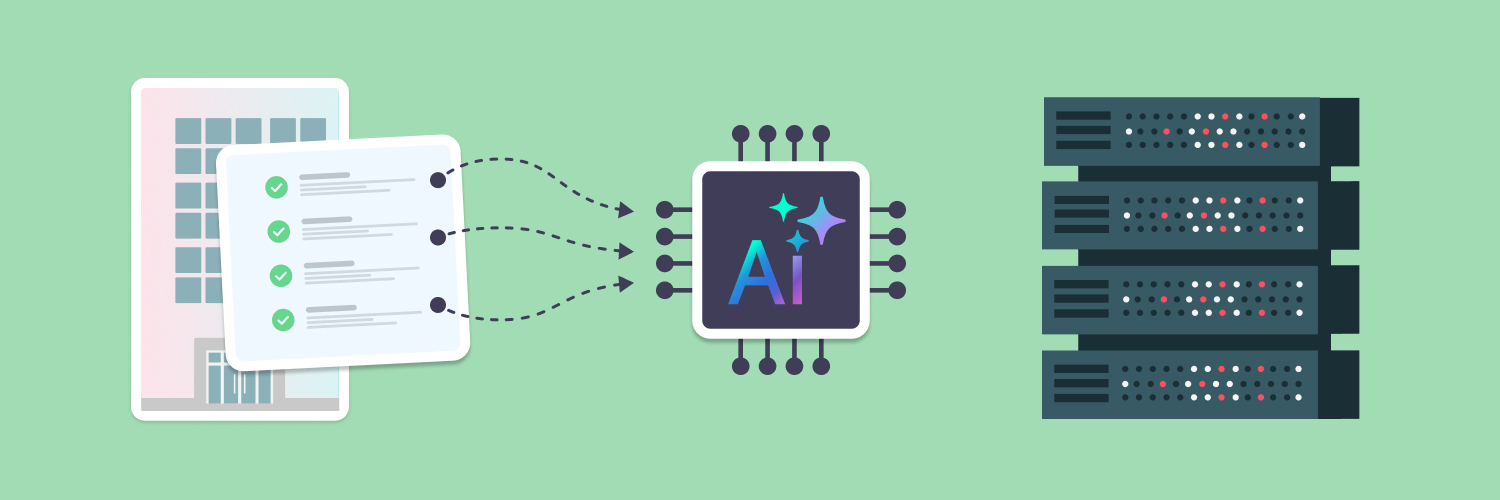
Scrape at Scale With Chromium Stealth Browser
Self-hosted, Linux-first, compatible with all automation frameworks.

What is and why use web scraping?
The immensity of data on the internet provides a rich resource for research, but web scraping skills are necessary to access this data. Web scraping is a process that gathers data from the internet, and even something as simple as copying and pasting lyrics from a favorite song is a form of web scraping. However, “web scraping” usually refers to an automated process.
Automated web scraping can save time by gathering desired information many times from various pages after writing code once. In contrast, manual scraping methods rely on clicking, scrolling, and searching, especially if large amounts of data are needed from constantly updated websites. This method wastes a lot of time since there’s so much information on the internet, and more is added every second.
Why use Python for web scraping?
Python is a versatile coding language used on a website or application’s backend, frontend, or full stack. Python is an interpreted language, meaning it doesn’t need to be compiled before running. This makes development faster because you don’t have to wait for your code to compile every time you make a change. It is object-oriented, where data and code are organized into objects (instead of functions) that can interact with each other. Python is also high-level, using abstract concepts instead of concrete instructions like most programming languages. This makes the language easier to learn and more readable.
Additionally, Python is a scripting language, meaning code written in Python can be used to automate tasks or connect separate software components. It is especially favored for data science and artificial intelligence applications.
In short, Python is a language that prioritizes readable code, which makes it the perfect choice for web and app development and a natural fit for web scrapers. However, some people do choose to use other languages for web scrapers despite the many benefits of Python and its large libraries.
Then there are also Python’s various third-party libraries not included in standard releases — they significantly expand what Python can do. One of the reasons why Python is so popular for web scraping is its third-party requests library. The requests library allows developers to send HTTP requests using Python and makes it easy to scrape websites. It can download a website’s HTML code and then parse that HTML code to find the data that you’re looking for.
Some hurdles to expect when scraping with Python
The web is constantly growing and evolving. This can pose a couple of challenges for web scraping:
- Variety: Because each website is unique, you’ll need to personalize your scraping techniques to get the information you want.
- Durability: Websites are in a constant state of flux. What worked last week might not work this week. Be prepared for regular updates.
Web scraping also always involves some risk that the target site will change in a way that breaks the scraper. This is especially true for sites that are still under development. However, most changes are small, so minor adjustments to the scraper are usually all that’s needed. But keep in mind that your web scrapers will probably require constant maintenance even if the target site doesn’t frequently change. To reduce this problem, you can set up continuous integration to run regular tests and catch any errors quickly.
Understanding the Python Requests Module

One of the great things about Python is the vast amount of high-quality libraries available for download. These libraries can save you a lot of time and hassle when programming. The requests library, in particular, is essential for Python web scraping. This library provides many tools to simplify HTTP requests. For example, you can send HTTP GET and POST requests (more on these later) with just one line of code.
But let’s start at the beginning:
What is an HTTP request?
A client computer makes an HTTP request to access a specific resource from a server. The request uses components of a URL to specify which resource is being accessed and where it is located. Essentially, HTTP requests are part of what lets computers communicate with each other. Every time you load a webpage, you perform a specific HTTP request, and the web server responds by providing the proper information: the page’s contents.
Technically, an HTTP request is made up of the following components:
- A request line
- One or more HTTP headers, also called header fields
- An optional message body
Each HTTP header must be followed by a carriage return line feed (CRLF). After all the HTTP headers have been sent, another CRLF is used to signal an empty line, after which the message body begins.
The example HTTP request below retrieves the contents of a file called “test.html” from a server:
GET /test.html HTTP/1.1
Host: www.ExampleSite.com
The first line of this request, “GET /test.html HTTP/1.,” is the command telling the server what action to perform (in this case, to retrieve a file) and what resource to act upon (/test .html). The next line, “Host: www.ExampleSite.com,” tells the server which hostname to resolve to contact the correct IP address for that server. In most cases, this will simply be the domain name of the site you’re trying to reach.
Various other headers can be included in an HTTP request (for example, specifying which browser you’re using or whether you want compressed content), but they are not required and are not shown here.
What is the Python Requests Module?
Python Requests is an efficient library that is easy to use and parse. Other standard HTTP libraries, like urllib, urllib2, and urllib3, require more code and are difficult to use, understand, and debug. The requests library requires fewer statements overall, making the code simpler and easier to read.
Requests is not a part of the Python Standard Library. You’ll need to download and install it first. You can install requests through a terminal with this code:
$ pip install requests
It’s best to use the terminal provided in the coding environment (e.g., PyCharm) to avoid installation issues. Before using Requests in any project, import the library:
import requests
GET and POST
There are several types of HTTP requests, but GET and POST are the most common.
GET is used to request data from a specified source, like a website. In Python, you can use the requests.get() method to send a GET request. For example:
requests.get(‘http://ExampleSite.com/’)
You can also add parameters to a GET request if necessary by adding them after the URL with question marks and separating each pair with &:
param_contents = {‘key1’: ‘value1’, ‘key2’: ‘value2’}
requests.get(‘http://ExampleSite?com/’, params=param_contents)
After adding these parameters, your URL should look like this:
When sending Python request methods like GET, you get response codes back. These codes indicate various things, and you can view response messages by creating an object and print(object.status_code). Some of the most common status codes are:
- 200: Successful. No errors here.
- 400: Bad request. This usually means there was a problem with the syntax or formatting of the client’s request message.
- 401: Unauthorized. This occurs when valid credentials are needed to fulfill the request.
- 403: Forbidden. Even though the server understands the client’s request, it won’t be fulfilled because of insufficient permissions.
- 404: Not found. This happens when there is no content on the server matching what was requested by the client.
While status codes are useful, they don’t provide much information about the acquired content. All we know is if the acquisition was successful and, if it wasn’t, what the possible reason could be.
To view the Python requests response object sent by a GET request, we can create a variable. Let’s name it “response” for this example:
response = requests.get(‘ http://ExampleSite.com/‘)
You can now access the status code without relying on the console. To do this, print out a specific section (status_code):
print(response.status_code)
Don’t be alarmed that the output will be identical to the one received before: <Response [200]>. To read the response content, we access the text part using response.text. Printing this output will provide the entire response in the Python debugger window:
print(response.text)
You can let it auto-guess the encoding by not specifying a value, but in some rare cases, you may need to change it. This can be done by setting response.encoding to your desired value. Requests will automatically use this encoding the next time you make a call.
It’s also possible to decode responses into JSON format using .json(). However, this won’t work with our example site since it doesn’t send a request that can be decoded that way. If you try it anyway, it will raise an exception. As an example, let’s use Github’s API:
response = requests.get(‘http://api.github.com’)
print(response.json())
Using .json() you get a dictionary object that you can access and search.
Now let’s get to the POST request. The POST request method is used to create a resource on a server with specified data. Using POST is almost as simple as using GET:
response = requests.post(‘https://ExampleSite.com/post’, data = {‘key’:’value’})
All HTTP methods (HEAD is an exception) return a response body that can be read. The same applies to POST requests, GET requests, or any other method, really:
print(response.text)
Responses contain information related to the type of request made. Responses to POST requests, for example, contain information regarding the data sent to the server.
In most cases, it isn’t enough to just specify data in the POST. The Python Requests library accepts arguments from dictionary objects, fortunately, and you can use these to send more advanced data:
payload = {‘key1’: ‘value1’, ‘key2’: ‘value2’}
response = requests.post(‘https://ExampleSite.com/post’, data = payload)
Our new request would send this payload object along with our POST request to the destination server.
Everything else
As mentioned earlier, the most common methods put to work by the average user are POST and GET. Users of scraper APIs utilize only these two HTTP methods to send job requests (POST) and receive data (GET). Of course, there are more requests available:
- PUT: Replaces all current representations of the target resource with uploaded content
- DELETE: Removes all current representations of the target resource given by URI
- HEAD: Retrieve only headers and status, no message body like GET
- OPTIONS: Describe communication options for the target resource
- TRACE: Echoes original request back to its source
- PATCH: Applies modifications to the specified resource
These methods are mostly used for web development, debugging, or server administration and are not something the average internet user would encounter.
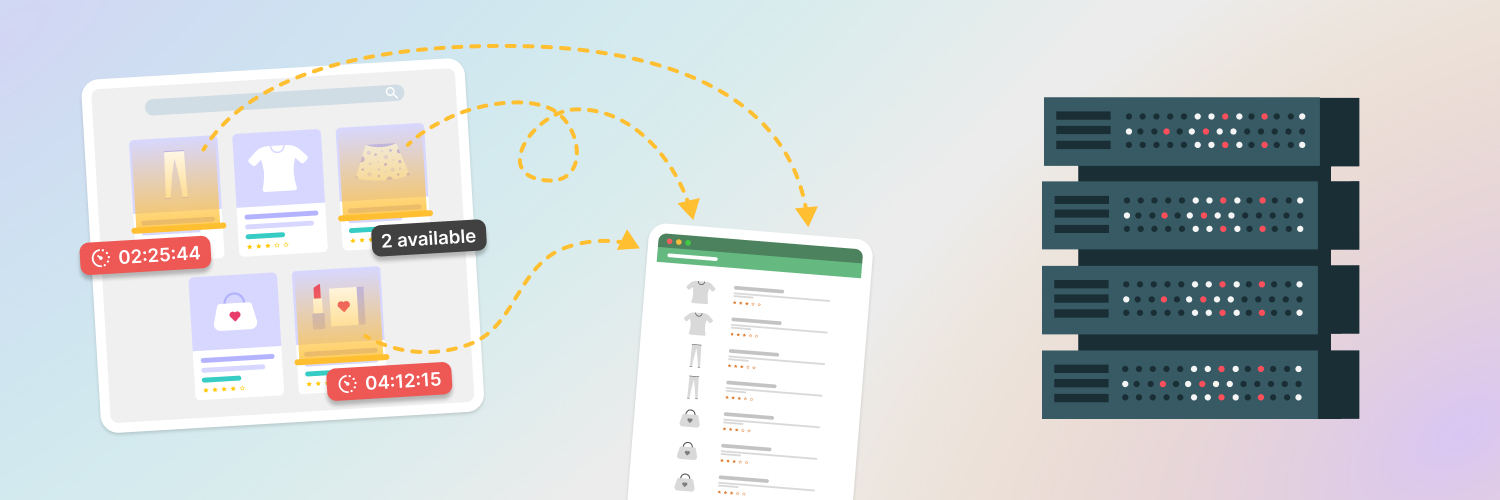
Scrape at Scale With Chromium Stealth Browser
Self-hosted, Linux-first, compatible with all automation frameworks.
Using Python To Scrape Websites Automatically

Before you can scrape websites with Python, you need to produce a program that will interact with the pattern of the websites’ HTML. The program will read the HTML and collect the information you need before outputting it in your preferred format.
First, decide what information you want to collect from the website. Are you looking for product names and prices? Descriptions? Just phone numbers? Narrowing down your data target will make it easier to write your scraper later on. But first:
Some ground rules and etiquette
Different websites have different opinions on automatic data scraping. While some websites may not appreciate it, others may not mind. If you’re scraping a page for educational purposes and doing so respectfully, you’re unlikely to run into any problems. However, it’s always a good idea to do your research beforehand to ensure that you’re not violating any Terms of Service before beginning a large-scale project.
Loading a web page requires making a request to a server. Making too many requests in a short period can overload the server, causing the site to crash or become unresponsive (basically a denial-of-service attack). When writing scripts to scrape websites, take care to make only one request per page to reduce the load on the server and help avoid crashes. When parsing data from loaded pages, do so only after saving a local copy of the page.
Before scraping a website, check for a robots.txt file in the root domain. This is where the website owner will state what bots are allowed to do on their site. For example, a robots.txt file might look like this:
User-agent: *
Crawl-delay: 15
Allow: /categories/
Disallow: /scripts/
The user-agent field identifies the bot, and the rules that follow indicate what the bot should do. Some robots.txt files will use many user agents with different rules. Common bots are googlebot, bingbot, and applebot.
It’s not entirely necessary to provide a user-agent when scraping; therefore, user-agent: * is what we’ll follow. A * means that rules apply to all bots (including us).
The crawl-delay tells us how many seconds to wait before making additional requests. In this example, the wait time is 15 seconds between requests.
Allow, as the name implies, identifies specific URLs we’re allowed to request with bots, while disallow prevents us from scraping specific URLs. In this example above, we’re allowed to request anything in the /categories/ subfolder, so anything that starts with ExampleSite/.com/categories/ is fair play. On the other hand, it looks like they don’t want us scraping anything from the /scripts/ subfolder.
You’ll often notice a * next to allow or disallow, meaning that you are either allowed or not allowed to scrape everything on the site. However, sometimes there will be a “disallow all pages” followed by which specific ones are allowed, for example:
Disallow: *
Allow: /categories/
So you’re not allowed to scrape anything save for the subfolder /categories/. So, essentially, just read the rules in order. The next rule overrides the previous one.
So with the ground rules in place, it’s time to do some preliminary prep work.
Inspecting the structure of your data source manually and with developer tools
Before web scraping, it is helpful to understand how URLs work and what they are made of. For example, a URL for a job details page may look like this:
This URL can be deconstructed into two main parts:
The base URL represents the path to the search functionality of the website. In the above example, the base URL is https://ExampleSite.com/categories/. The specific site location that ends with .html is the path to the job description’s unique resource. Any subpages posted on this website will use the same base URL. However, each unique resource will have a different location depending on which posting you are viewing.
URLs can hold more information than just a file’s location. Some websites use query parameters to encode values submitted when performing a search (e.g., retrieving specific records from a database). You can think of them as query strings that are sent along with requested data.
Query parameters are found at the end of a URL. For example, the URL below has query parameters denoting a search for “software developer” in “California” on a job search plateform:
The three parts of query parameters are:
- Start: Query parameters start with a question mark (?).
- Information: Related keys and values making up one parameter are joined by an equals sign (key=value).
- Separator: Multiple query parameters in one URL are separated by ampersands (&).
Looking at the given URL, we can see two key-value pairs that make up the query params:
- q=software+developer describes the type of job being searched.
- l=California outlines where this job is located.
With some manual inspection, there’s already much you can reveal to help with your automated scraping efforts. But let’s take it a step further.
You’ll want to learn more about how the data is structured for display.
You can use developer tools to understand the structure of a website and pick what you want from the HTML response. All modern browsers have their own version of developer tools installed. In Chrome on macOS, open up the developer tools through the menu by selecting View → Developer → Developer Tools. On Windows and Linux, access them by clicking the top-right menu button (⋮) and selecting More Tools → Developer Tools. Or, right-click on the page and select Inspect from the context menu.
To better understand your web page source code, use developer tools to explore the document object model (DOM) interactively. In the Elements tab of developer tools, you’ll see a structure with HTML elements that you can click. You can expand and collapse elements or edit them in your browser.
The key to web scraping is understanding the page you’re working with. The more you know about the page, the easier it will be to get the information you need. However, don’t get discouraged if there’s a lot of HTML text. You can use programming to step through it and find what’s relevant to you.
Scraping HTML content from a webpage through Python requests
Now that you have a better grasp of what you’re dealing with, it’s time to start actually scraping with Python. Once you’ve already downloaded, installed, and imported the Python requests library, you can freely use the request methods to scrape sites:
import requests
target = “https://ExampleSite.com/categories/”
page = requests.get(target)
print(page.text)
Note that websites can be static, dynamic, or hidden. What you get from running Python requests on each will be vastly different.
Scraping from static websites
HTML is the standard markup language for creating websites and web applications. Most web pages are created using HTML, which defines the structure of a page semantically. Static websites don’t use server-side scripting languages (like PHP or Ruby on Rails) to generate dynamic content. The content in static websites is written in HTML and CSS and doesn’t change frequently. Static website generators like Jekyll or Hugo are used to generate static sites from source files like Markdown or AsciiDoc.
Formatting your code can make it easier to read, especially if you’re working with long blocks of HTML code. An HTML formatter can help you automatically format your code to be more readable. Good readability helps you better understand the structure of any code block, which can be helpful when you’re troubleshooting errors or trying to optimize your code.
If you ever get lost in a large pile of HTML code, remember that you can always go back to your browser and use the developer tools to explore the HTML structure further.
Scraping from dynamic websites
When you make a request to a static website, the server sends an HTML page in the response. This contains all the information for that page, so you can parse it and extract what you need. Dynamic websites work differently — the server might not send any HTML. Instead, you could receive JavaScript code. This code is very different from what you see when inspecting the webpage using the developer tools in your browser.
The main difference between these two types of websites is how they are generated on the server side. Static websites are simple HTML pages served up as-is to anyone visiting them. All of the content for each page is contained within those HTML pages before anyone requests them from the server — hence why they’re called “static.” In contrast, dynamic websites use some kind of programming language (like PHP) to generate their content on-the-fly whenever someone requests one of their pages — that’s why they’re called “dynamic.” Dynamic websites have an advantage over static ones because their content can be generated much more easily and automatically based on user input or other data sources (like databases).
So if you scrape a dynamic site, you’ll get JavaScript back. But what you see on your browser is what happens when it executes the JavaScript and creates the DOM and HTML for you locally. This means when you scrape the JavaScript, you’ll get the code, but not its intended result, which is what you wanted.
Requests will only give you back what the server sends. If you’re trying to access a dynamic website, all you’ll get is some JavaScript code instead of HTML. This code must be executed to see the content that interests you — just like your browser does. Requests library can’t do this for you, but other solutions can.
For example, requests-html is a project created by the author of the requests library, which allows rendered JavaScript using similar syntax to requests.
Scraping from hidden websites
Some pages have information you can see only when logged in, meaning you need an account to scrape anything from the page. Making an HTTP request from your Python script is different from opening a page in your browser. Just because you can log into the site through your browser doesn’t mean that the same login will work for scraping purposes with your Python script.
There are a few different ways to handle authentication when making HTTP requests from your Python script. The most common is to use the built-in capacity in the requests library. Depending on the website, this can be done with a few different techniques.
For example, let’s say you’re trying to log into a job board website. With most job board websites, you need to create an account before accessing any of the site’s information.
When using the requests library, you can specify what kind of request you want to make (GET or POST) and then include all of the necessary information that would normally go into filling out a login form on a website (your username and password). Once you’ve made this request, your Python script will be logged in and able to access any information previously hidden behind a login wall — just as if you had logged in through your browser manually.
Luckily, the requests library comes with a built-in capacity to handle authentication. With these techniques, you can log into websites when making the HTTP request from your Python script and then scrape information behind the login wall. You won’t need to log in separately to access job board information.
Parsing Messy HTML Code

You can successfully scrape most websites easily enough, but you’ll get back messy HTML code that’s very unreadable to human eyes. Using something like Beautiful Soup is highly recommended.
Python’s Beautiful Soup library is great for parsing structured data. You can interact with HTML similarly to how you’d use developer tools on a web page. The library has some great functions that make it easy to explore the HTML you received. Just install and import the right libraries as usual:
$ python -m pip install beautifulsoup4
And then add the appropriate elements in your code:
import requests
from bs4 import BeautifulSoup
target = “https://ExampleSite.com/categories/”
page = requests.get(target)
soup = BeautifulSoup(page.content, “html.parser”)
Those additional lines of code create a Beautiful Soup object, which then takes in the page.content (the scraped HTML content). The argument html.parser ensures you’re using the appropriate parser for the job.
Beautiful Soup is essentially a Python-based HTML formatter, and there is a lot it can do to support your scraping efforts, especially toward the back end of the pipeline when you want to sift through what you’ve scraped.
Aside from simply formatting messy HTML, BeautifulSoup also provides some useful built-in functionality, such as:
- Finding HTML elements by ID: By using developer tools to check the IDs of the HTML element you need, you can instruct BeautifulSoup to find all of the relevant elements in one go:
results = soup.find(id=”the_element_ID”)
You can also “prettify” the collected information by calling the method on the resulting variable:
print(results.prettify())
You’re essentially thinning out needless HTML by pulling out only the elements with specific IDs.
- Finding HTML elements by class name: You can also find elements through their class names and, again, prettify the result. In the example below, you’re assigning all DIV elements with the class “card-detail” to the variable refined_list by calling the find_all method on the initial information you extracted above.
refined_list = results.find_all(“div”, class_=”card-detail”)
- Extracting text and attributes from elements: Say you only want the text or attribute, not the HTML code. You can also do that via BeautifulSoup’s built-in .text method, which is again a method you can automatically call once you’ve imported the appropriate BeautifulSoup library.
There are a number of other built-in functions that would make your web scraping efforts much easier, especially when you’re digging through the information you’ve gained.
Using Proxies To Power Your Web Scraping Via Python Requests

Proxy web scraping uses a proxy server to collect data from websites. A proxy server acts as an intermediary between your computer and the internet, forwarding requests to the target website and returning responses to the user.
There are several reasons why you might want to use a proxy server when web scraping:
- To hide your identity when making requests. The proxy server makes requests on behalf of the user, so their IP address is hidden from view (some website block scrapers based on IP addresses).
- To bypass restrictions placed on an IP address by a target website. If a website has blocked your IP address, then using another one will let you circumvent this restriction.
- To improve performance by caching data and requests made through the proxy servers.
A proxy server can help automated web scrapers control how they access information from websites and manage traffic sent to sites.
DIY Proxy Web Scraping
Proxies are commonly used in web scraping to bypass anti-bot measures and allow for a steady data flow. When web scraping gets more complex or multiple scrapers are involved, stronger proxies are required to maintain efficiency. If you want to do web scraping yourself, you’ll need a reliable proxy provider that can offer the complex proxies you need or provide rotating proxies at the scale you require — or both.
Many organizations find that using proxy providers is the best option for web scraping on a large scale. Proxy providers offer the proxy infrastructure needed to power web scrapers. It would be very resource-intensive and expensive to establish and maintain proxy servers manually or with a limited number of resources. Proxy providers let you increase your web scraping efforts flexibly and quickly without investing a lot of money or time.
Overall, proxies can increase the efficiency and effectiveness of automated web scraping while minimizing cost and effort. If data collection on a large scale is desired, proxies should be part of your tool kit.
Ethical Proxy Use for Scraping

Proxy scraping has never been easier or more affordable than with Rayobyte. We have the perfect solution for your needs with a wide selection of residential, ISP, and data center proxies. Our ethical and professional company is one you can trust!
When it comes to web scraping, residential proxies are often the best option. This is because they provide you with IP addresses assigned to actual people by their internet service providers. This means that the IP addresses are valid and constantly changing, which can help your web scrapers avoid setting off any alarms. Plus, Rayobyte only sources residential proxies from ethical sources and works hard to keep downtime to a minimum.
If you’re looking for faster speeds, data center proxies are a great option. Traffic is routed through data centers with these proxies, resulting in quicker connections. The trade-off is that you’ll have fewer unique and nonresidential IP addresses, but they’re more affordable overall. If you’re doing any web scraping, data center proxies can be an effective solution.
ISP proxies are associated with an ISP but housed in a data center. They offer a mix of speed and anonymity that lies somewhere in between residential and data center types of proxies. You get the speed of data centers and the authority that comes with using an ISP.
Final Thoughts

This primer on Python requests is meant to be a starting point to show you the what, why, and how behind using Python requests for web scraping. You’ll need the Python requests library, a simple module that lets you perform HTTP requests via Python, and this will be the bedrock of your scraping methodology.
However, without other tools like proxy servers, your scraping efforts will most likely be hampered by automated defense mechanisms used by many websites. The proxy servers will allow you to camouflage your scraper and avoid more stringent measures that inadvertently flag automated information collection.
To empower your Python-enabled web scraping needs, you’ll most likely need the services of a reliable proxy provider. Try Rayobyte’s Web Scraping API to automate much of your Python requests workload and explore our available proxies now.
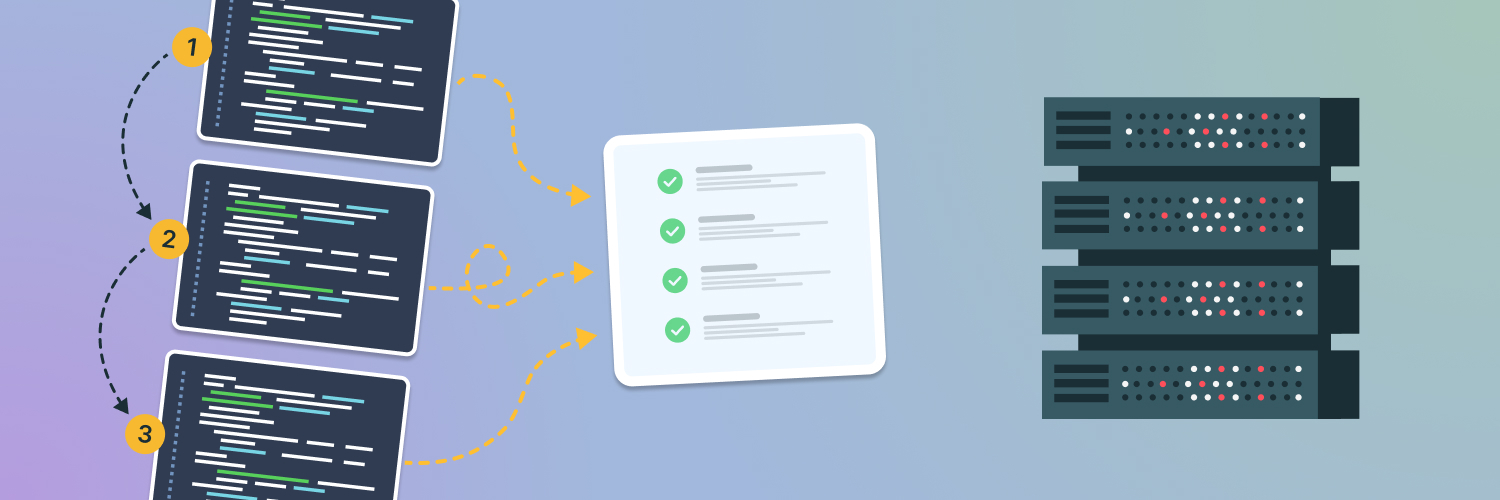
Scrape at Scale With Chromium Stealth Browser
Self-hosted, Linux-first, compatible with all automation frameworks.
The information contained within this article, including information posted by official staff, guest-submitted material, message board postings, or other third-party material is presented solely for the purposes of education and furtherance of the knowledge of the reader. All trademarks used in this publication are hereby acknowledged as the property of their respective owners.