Building a Web Scraper in Python
Once you learn how to build a web scraper in Python, you can use it to create incredible resources for a vast number of needs. Keep in mind that while you will learn to build a web scraper in Python using this tutorial, you also have to consider the learning process – it’s not a simple path, but it is well worth it.
Once you learn to build a web scraper in Python, you can use it to capture a wide range of data that informs decisions, provides clarity on your competition, and may help you remain competitive across your digital competition. At this point, you probably already know what web scraping is (and if you do not, we have multiple resources about web scraping available for you to use).
Now, we will learn how to build a simple Python web scraper. We will cover:
- How to use Python’s powerful libraries to help you build a web scraper
- How to fetch HTML content
- Using BeautifulSoup for parsing web scraped content
- How to integrate Selenium into the web scraper for dynamic content
- When to use Scrapy for building scalable web crawlers
- How and why to use proxies, user-agent rotation, and handle CAPTCHA challenges
Keep in mind that you can use this guide to build a web scraper in Python for ethical purposes. Make sure you always know the terms and conditions of the website you are using and follow the rules to build a web scraper with Python that’s compliant with any applicable rules (if you are not sure, ask first!)
Python Web Scraping Libraries to Get You Started

In this process, we will focus on Python 3.4+ as the version we are using. If a newer version is available or you are using something older, we encourage you to adjust this process as necessary.
Why are you building a web scraper in Python? The reasoning starts with Python libraries. They are some of the most robust and provide you with thousands of Python projects already in place that allow you to tap into some of that already completed work.
There are dozens of options out there, but several of the best libraries for learning to build a web scraper in Python include:
- Beautiful Soup
- LXML
- Selenium
- Scrapy
- Requests
Now, let’s provide you with some code to capture the libraries most useful that you are likely to incorporate as you learn how to make a web scraper in Python.
Beautiful Soup: This Python library is a necessary tool that works as a parser to extract the data from the HTML that you need. It also provides you with an opportunity to create invalid markup use – because you can place it into a parse tree.
You can use Beautiful Soup for parsing only. That means you still need to use the other libraries for other tasks. To capture this library, you will need to install Beautiful Soup with the pip:
pip install beautifulsoup4]
Requests: You need a way to send requests, and that is where the Requests library works well. It will let you perform HTTP requests using Python. That makes HTTP requests easy to manage and allows you to build a simple Python web scraper rather quickly (which is always a good thing as you navigate one project after another).
Requests will be a critical component for all Python web scraping projects because the data contained in a web page must be retrieved via an HTTP GET request. You can install the necessary Requests library using the following pip command:
pip install requests
Selenium: The next library you need to use to learn how to create a web scraper in Python is Selenium, an open-source and very advanced (but also automated) testing framework. It allows you to execute operations on a web page using a browser. This means you can tell a browser to accomplish various tasks for you. Keep in mind that Selenium has a web scraping library available for its headless browser functionality as well.
With Selenium, the web pages are rendered in a browser, and that helps support the web scraping of pages (depending on JavaScript for rendering or data retrieval). Now, to install Selenium, you will need to use the following pip command:
pip install selenium
Scrapy: Another tool to utilize to learn how to build a web scraper in Python is Scrapy. It provides a complete package for Python web scraping and crawling and is ideal for large-scale projects. That is because it can provide a lot of functionality, including request handling, parsing the responses, and managing your data pipelines.
With Scrapy, you do not need a lot of code experience, especially since you can use it with just about any Python library you desire. You can download access to Scrapy and start using it right away.
The Steps on How to Build a Web Scraper in Python

Now that you have all of these resources, you can begin to put together a simple Python web scraper. Let’s run down the steps to do so and what you can expect along the way.
1: Get the Python scraping libraries in place
We have already covered what we suggest you should use. However, there are other options. To know which is best for your project, start by looking at the website’s details.
Go to the website you want to scrape and right-click on the background. Then, click “Inspect.” This brings up the DevTools for the site, which you can then navigate to the “network” tab. Then, reload the page.
This tells you if you need to consider a dynamic web scraping tool (if the website does not use that type of content.) If it requires JavaScript to retrieve data, you will need to use Selenium to scrape that website. If it does not, you do not need to use Selenium. Instead, you can use Requests and Beautiful Soup together.
2: Set up your Python project
Are you ready to learn how to make a web scraper in Python now? You need to first establish your Python web scraping project. You could use a single .py file. However, most often, using an advanced Integrated Development Environment (IDE) makes coding easier. Consider any Python IDE you wish to use. We recommend PyCharm.
If you use this tool, start by opening the application and then following these steps:
- File
- New Project
- Pure Python
- Create a new project name
- Click Create
This gives you a blank starting point. Imagine the opportunities!
You will need to delete any provided code initially and then install all of the project dependencies including Beautiful Soup. Use the code pip above to help you create these, or follow this command:
pip install requests beautifulsoup4
This will incorporate Requests and Beautiful Soup. You will also need to add the following lines of code to the top of your scraper.py script file (or however you choose to name it).
import requests
from bs4 import BeautifulSoup
3: Connect to the website you want to scrape
Now, when it comes to creating a web scraper in Python, your first step will need to be to tell the site where to go and what you want to do. You need to connect the web scraper to the website you want to scrape.
To do this, start by obtaining the full URL to the page you want to target. Go to that page and copy and paste the entire URL, including the start of the HTTP. To help you, we are going to use a fake site to capture information from. We’ll call it ScrapingQuotes. We need to capture the full URL:
https://quotes.ScrapingQuotes.com

With that information in hand, we can tell Requests to capture the information you need. Use this line:

page = requests.get('https://quotes. ScrapingQuotes.com')
This means that the Reques.get() task is in place. The GET request uses the URL you have entered to return a Response object that contains the server’s response to your request. If done properly, this will give you the page.status_code that features “200” in it. That means it is a positive result. If you have an error in the code, that could be due to a variety of reasons, most often a block request if you do not have a valid User-Agent.
Look at this data carefully. Notice the page.text property, which is where the HTML document returned as a part of your request came from – it will be returned by the server in strong format. Your next step will be to provide that text property to Beautiful Soup.
4: Parse your HTML content
Now that you have the information you want on hand, you can start to parse it, which is the next step in making a web scraper in Python.
The next part of this process is to parse the HTML document that you now have after running the GET request. Parsing is the process of taking the huge amounts of data that you have and looking for the specific components and pieces that you need for your project. There are various reasons to do so and numerous ways to go about parsing information, but Beautiful Soup really is a simple and direct method to do so.
So, To do this, you need to pass page.text on to the constructor. Use this code to do so:
soup = BeautifulSoup(page.text, 'html.parser')
This means that the Beautiful Soup will use the “html.parser”. It also means the soup variable will contain a Beautiful Soup Object. Specifically, this is the tree structure that comes from parsing the HTML document that was found on the page.text destination using the Python built-in html.parser tool.
This enables you to move on to the next step. That is to see how to use this code to find the very specific HTML elements you need from the page – which is why you are creating a web scraper in Python in the first place.
5: Select HTML elements
The next step is to go back to using Beautiful Soup as a way to capture the specific HTML elements you want from the DOM. You have a few options for doing this. The first step is to consider the actual task you desire.
- To Return the first HTML element that matches the input that you select, use the find() strategy
- To return a list of HTML elements that match the selector condition passed as a parameter, use find_all()
You can see how this would vary based on your specific project goals. Now, consider a few bits of code that could help you capture the specific elements you need in various ways.
Let’s say you want to use a tag to find a specific type of content. Use this code to do that:
# get all <h1> elements

# on the page

h1_elements = soup.find_all('h1')
If you are looking for specific text and you want a very specific result, consider a code written to include what you are looking for, such as:
# find the footer element

# based on the text it contains

footer_element = soup.find(text={'Powered by WordPress'})
You may, alternatively, be looking for a specific attribute. If that is the case, use:
# find the email input element

# through its "name" attribute

email_element = soup.find(attrs={'name': 'email'})
You can also seek out an ID. To do that, use a code structure such as:
# get the element with id="main-title"

main_title_element = soup.find(id='main-title')
Also note that Beautiful Soup also offers another option, the select() method. This will allow you to apply a CSS selector directly to the task. That could open the door for a faster process. To do that, use an example like this:
# get all "li" elements

# in the ".navbar" element

soup.select('.navbar > li')
Remember…in order for you to make use of and really benefit from any web scraping, you need to have an objective in place first. That is, you need to know what type of elements are of interest to you so you can tell the tools what to find. Define a selection strategy first that will allow you to target specific information you need to scrape.
6: Pulling the data from the elements
At this point, you are likely already finding a lot of great use out of the information, and you may be thinking about any of the numerous strategies you want to use next to capture more data. Let’s take a step back for a moment and learn how to extract data from the elements.
To do this, you need to tell the tool where you want it to store your data. Let’s keep it simple here, and since we are looking for quotes, we will use the following:
quotes = []
This will allow you to use Bueaitulf Soup to extract just the quote elements from the DOM. You will apply the .quote CSS selector next. In the previous example, we will apply this:
quote_elements = soup.find_all('div', class_='quote')
You can then use the find_all() method. This will give you, for example, a list of all of the <div>HTML elements that were identified within the class code. Here is an example of how you can do this:
for quote_element in quote_elements:
# extract the text of the quote

text = quote_element.find('span', class_='text').text

# extract the author of the quote

author = quote_element.find('small', class_='author').text

# extract the tag <a> HTML elements related to the quote

tag_elements = quote_element.select('.tags .tag')

# store the list of tag strings in a list

tags = []

for tag_element in tag_elements:

tags.append(tag_element.text)
When you utilize this process, you will retrieve the single HTML element of interest. This tag string is associated with the quote – and there are more than one. You will then need to store them as a list.
Your next step in this process is to take all of the scraped data and put it into a dictionary-like format. This will then allow you to append it to the list you desire. For example, we may capture the following information based on this project’s needs:
quotes.append(

{

'text': text,

'author': author,

'tags': ', '.join(tags) # merge the tags into a "A, B, ..., Z" string

}

)
If you have followed through this process and created some outstanding code to do so, you have now extracted all of the quote data from a single page on the target website. Of course, you will likely need to multiply this out numerous times to get data from numerous web pages.
One of the ways that you can avoid some of that hassle is to crawl the entire website instead. You can put crawling logic in place to help you do this. To do so, look at the “Next →” <a> HTML element. This redirects the web scraper to the next page. This component must be included in all of the HTML page listings except for the last page you want to include. If you have a website that is paginated, this works well.
7: Extract the data to a CSV file
The next step in this process is to export the list of dictionaries containing the quote data to where you will save it, a CSV file. You can do that by using the following type of code:
import csv

# scraping logic...

# reading  the "quotes.csv" file and creating it

# if not present

with open('quotes.csv', 'w', encoding='utf-8', newline='') as csv_file:

# initializing the writer object to insert data

# in the CSV file

writer = csv.writer(csv_file)

# writing the header of the CSV file

writer.writerow(['Text', 'Author', 'Tags'])

# writing each row of the CSV

for quote in quotes:

writer.writerow(quote.values())

# terminating the operation and releasing the resources

csv_file.close()
When you do this, the data will be in a list of dictionaries in the quotes.csv file.
How and When to Use Selenium as a Part of Your Web Scraping Project

As noted, there are many additional libraries and tools available that could help you to further improve your project and simplify the options. There are various times when you should use Selenium for web scraping. We encourage you to check out the full tutorial we have available on how to use Selenium for web scraping.
How and When to Use Scrapy as a Part of Your Web Scraping Project
Srapy is a tool that can handle a lot of the process for you. It is a Python-based, open-source tool that is designed for web crawling and allows you to gain valuable insights from the unstructured data available. If you have a large-scale project that would take forever to write code for scraping, Scrapy comes in to provide a solution. We also have developed a full tutorial on how to use Scrapy for web scraping. Read it and apply the information there to your project here.
Key Factors to Consider When Learning How to Build a Web Scraper in Python
There are a few more bits of information and strategies to employ when you are ready to take your learning to the next level. Consider the following:
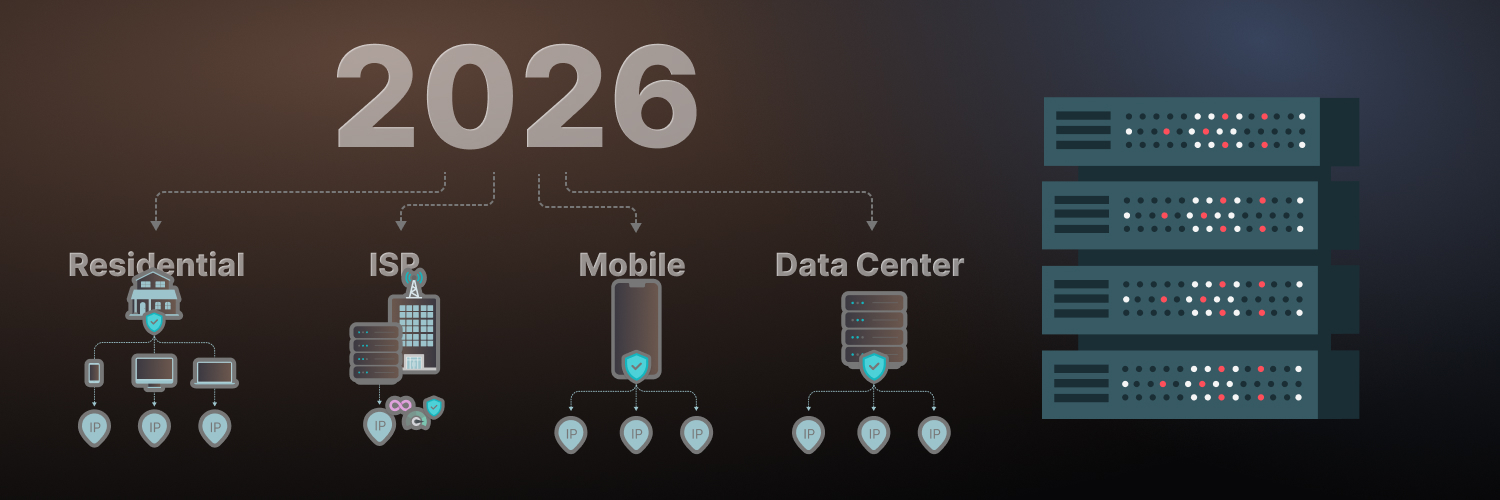
- Proxies: A proxy is one of the most important tools you have for protecting your identification (and getting around blocks that are limiting your activities). The need for proxies in Python web scraping is critical.
- User-agent rotation: User-agent rotation is critical because it helps you to get accurate information with every request you make with your scraper. It also prevents user-agent-based blocking tools that would otherwise limit the effectiveness of the process.
- Getting around restrictions: Many websites have put in place tools to limit the ability of web scrapers, such as using CAPTCHAs. It makes sense, but when your work is legitimate, you can implement tools that help you get around CAPTCHA and other anti-bot mechanisms being used today. Proxies can help you avoid CAPTCHA limitations.
Get Started Now

Now that you know how to build a web scraper in Python, there is no limiting you. We strongly encourage you to read through the linked tutorials on this page to help you build a consistent and highly effective solution.
Creating a web scraper in Python is far easier to do when you use Rayobyte and all of our proxy technology to protect your processes. Contact us now if you need help with any part of the process.


