Bringing The Rayobyte Studio To Life (for under $500)
Hi! I’m Isaac Coleman, VP of Marketing for Rayobyte.
Earlier this month, we proudly launched Rayobyte University, our educational series to teach people about all things scraping. Like most Rayobyte endeavors, it’s inspiring, unique, and a little bit silly. See for yourself:
This is an effort I’m proud to have been involved with as writer, director, and in the role of the humorous “Dean Coleman” who causes problems, tells jokes, and generally gets in peoples’ way, a role I prepared for through a lifetime of utter buffoonery.
But I’m not here to sell you on Rayo U today. Rather, I wanted to talk about one of the hardest parts of the whole project, and something you yourself might be able to relate to if you’re in the marketing field: building a “bedroom studio” in which to film.
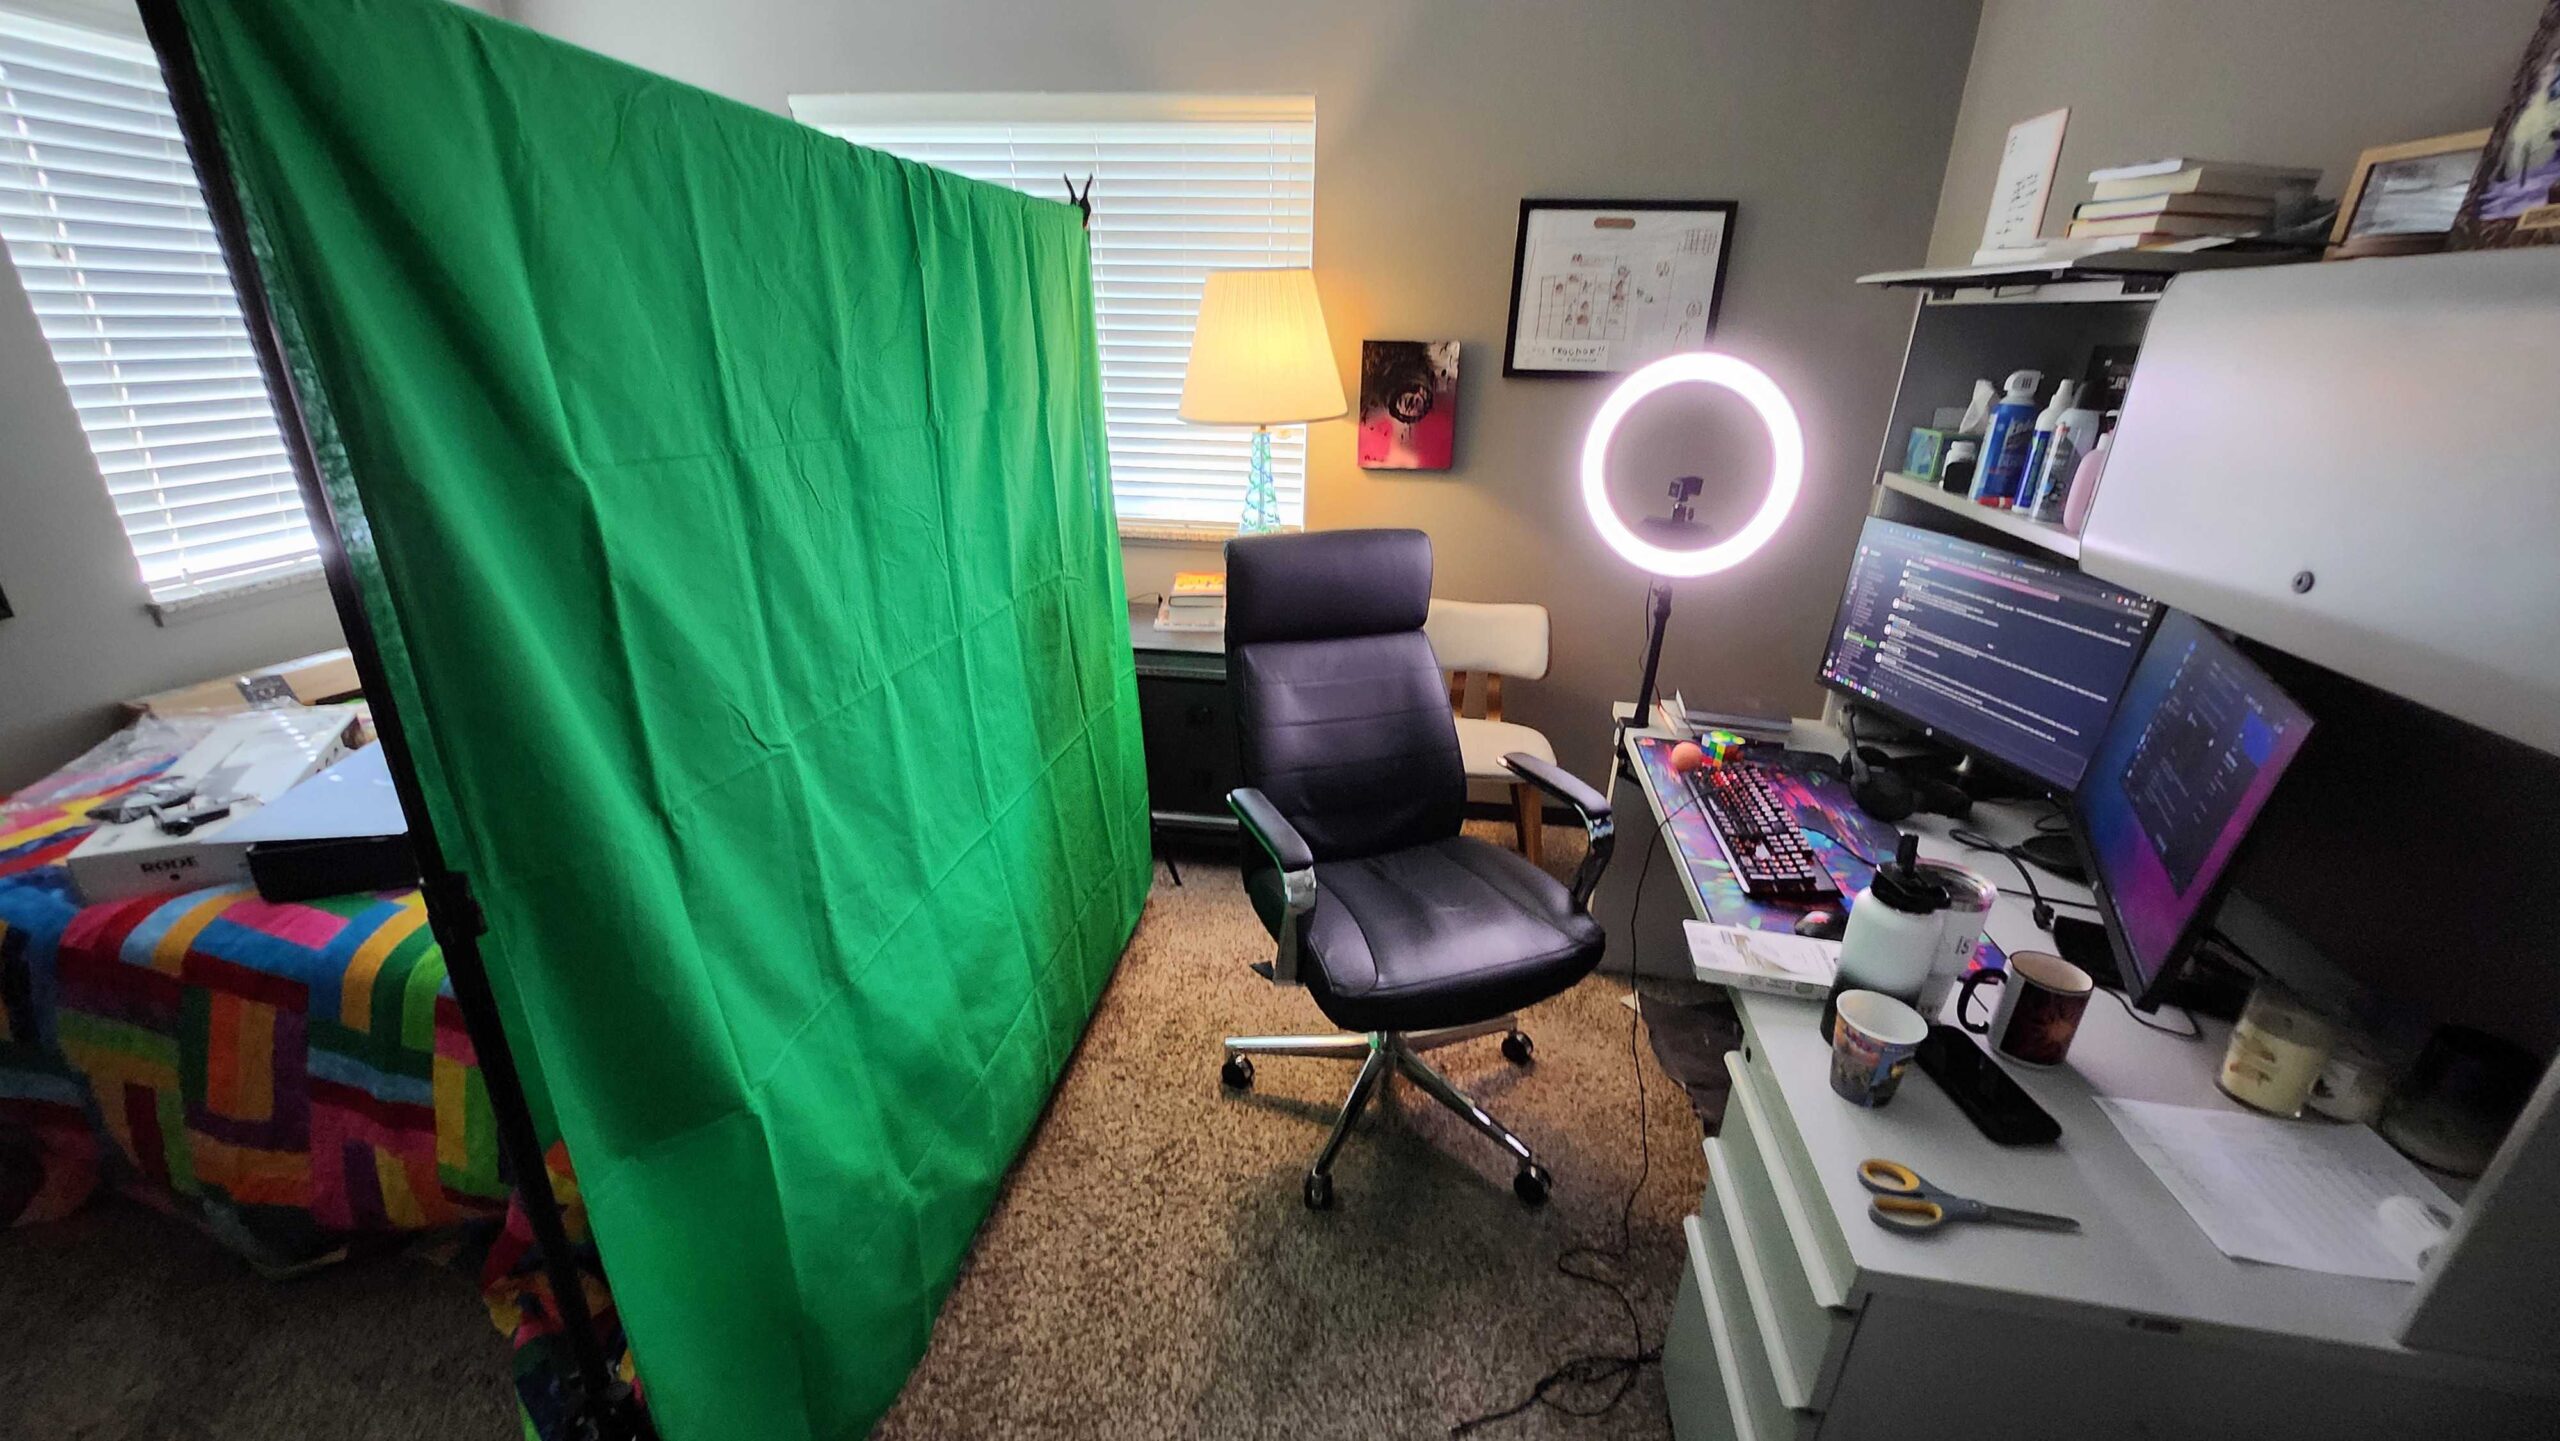
If you’re an eagle-eyed reader, this video of a preliminary setup attempt will tell you a few things:
- Like many Rayobyte employees (and indeed, workers the world over) I work in an office that doubles as my bedroom.
- Because of this, to create the Dean’s “university office” environment, we had to use a greenscreen.
- Greenscreens benefit from powerful, directed lighting at a significant distance from a camera. This office contains huge windows and almost no space.
- I should probably clean stuff off my desk more frequently.
I really cannot overstate how bad this room was for what we were trying to do. Our aim was to produce professional quality videos that could compete with the likes of Webflow University, which was filmed in a professional studio, but this room was the only place where I could reasonably film. The lighting was bad. The acoustics were bad. The distance thing was a nightmare. And we were aiming for an expense budget of no greater than $500. Nevertheless, as you can see in the video above, we achieved our goal.
Here’s how I did it:
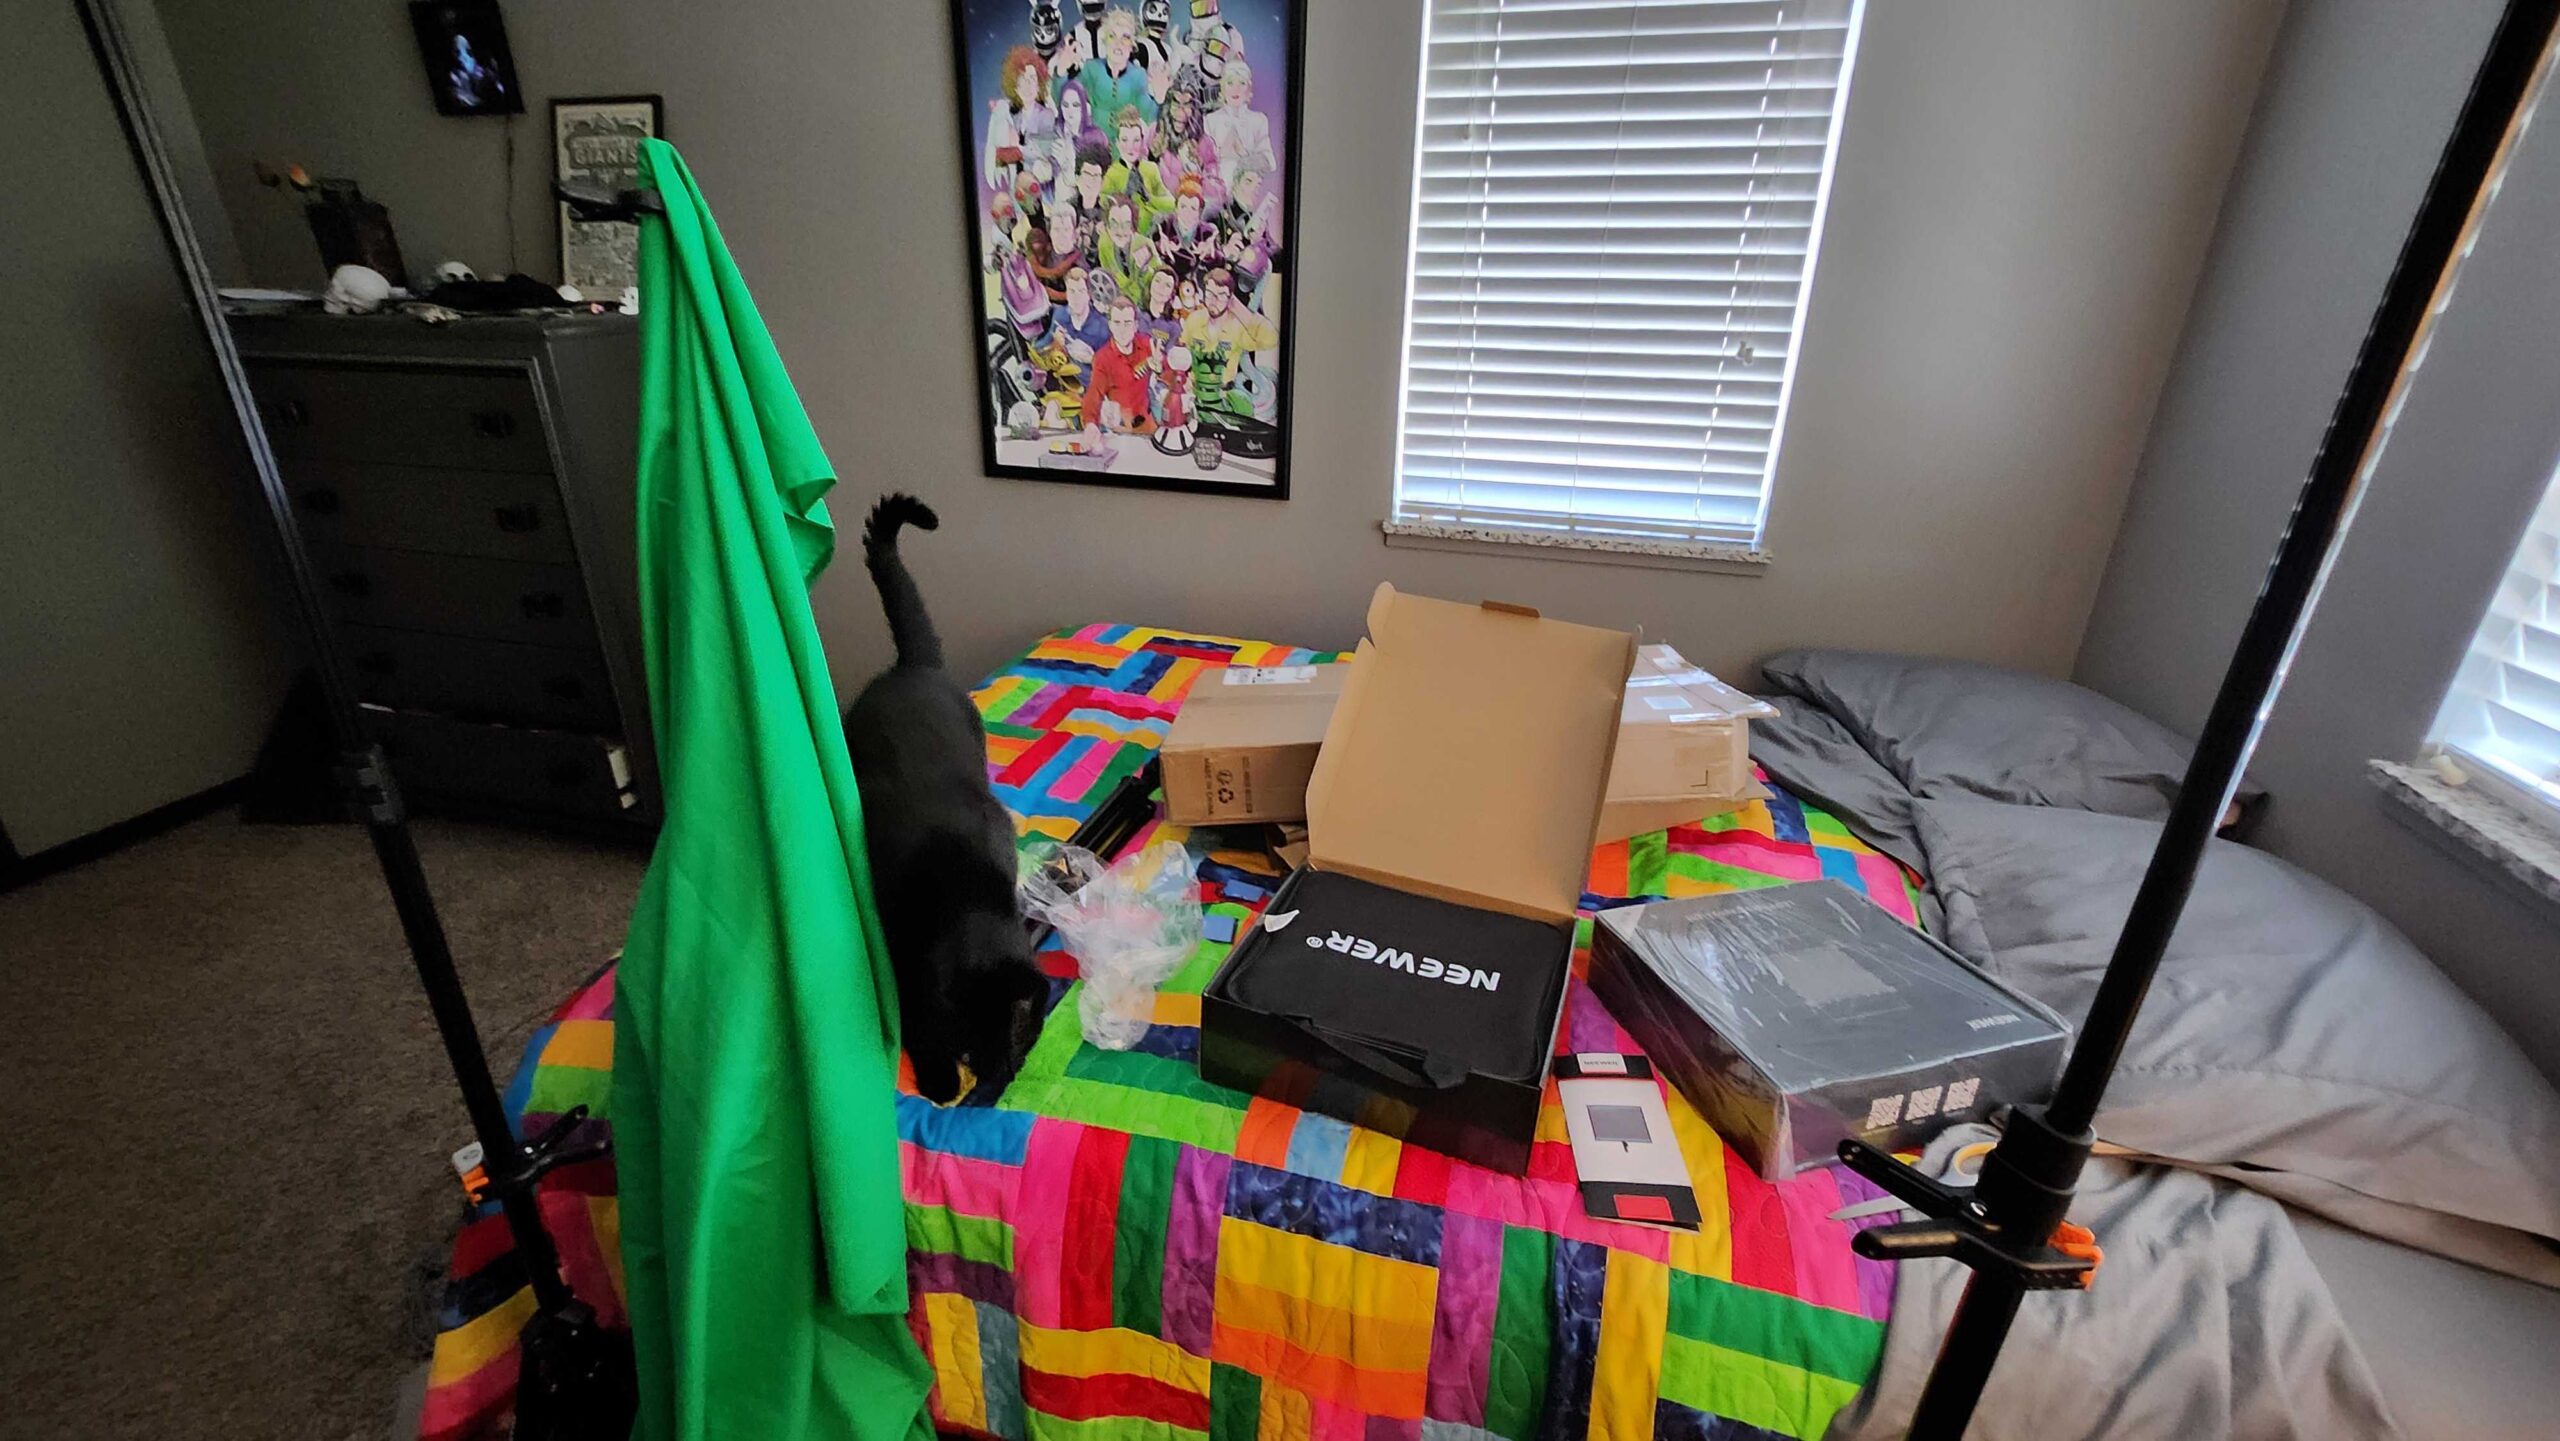
This photo features honorary Rayobyte mascot Ash T. Cat.
Here is the core of my setup and the approximate price of each item:
- EMART Greenscreen Backdrop – $14
- EMART Backdrop stand – $40
- Elgato Facecam MK 2 – $129
- NEEWER 2 stand lights – $162
- RODE Lavalier microphone – $55
And some other stuff we tried that didn’t work out for our purposes:
- Elgato ring light – ring lights are great if you can point them directly at your face, but I needed to be able to see my screen for the Rayo U tapings. Plus, attaching a camera to the ring light would have reduced the space between the camera and the screen – when distance was already an issue!
- RODE microphone stand and Yeti mic – Yetis have a bad rap in the industry, but mine has served me well through decades of professional podcasting and videography. However, it works best when you can put it directly in front of your face, which would have covered the Dean’s face almost entirely! To create that “close-up” sound without hiding anything, we switched to a lavalier mic, the audio from which I then had to edit significantly to sound as polished as possible.
- Privacy screens – I wear glasses with a blue light filter that helps me not die from staring at screens all day. This blue light filter shows on camera and looks horrible. We tried many solutions to fix this, including privacy screens – but ultimately decided that the Dean just wouldn’t wear glasses.
Other tips we found to make this setup work:
- I pushed the greenscreen right up next to the bed, and then pushed myself right up against the greenscreen, for maximum distance.
- We kept the camera as low as possible – I even switched out my computer chair for a hard wooden stool (that was very unpleasant to sit on)
- Cord management was a nightmare, as I had to wear a lav mic and earpiece at significant distance from the computer they were both plugged into without unplugging or strangling myself
- As mentioned, I had to take my glasses off
- I had to position a fan to keep me from melting under the hot lights in a thick wool vest without disturbing the greenscreen
- Our fearless editor occasionally had to fix the greenscreen with manual masking.
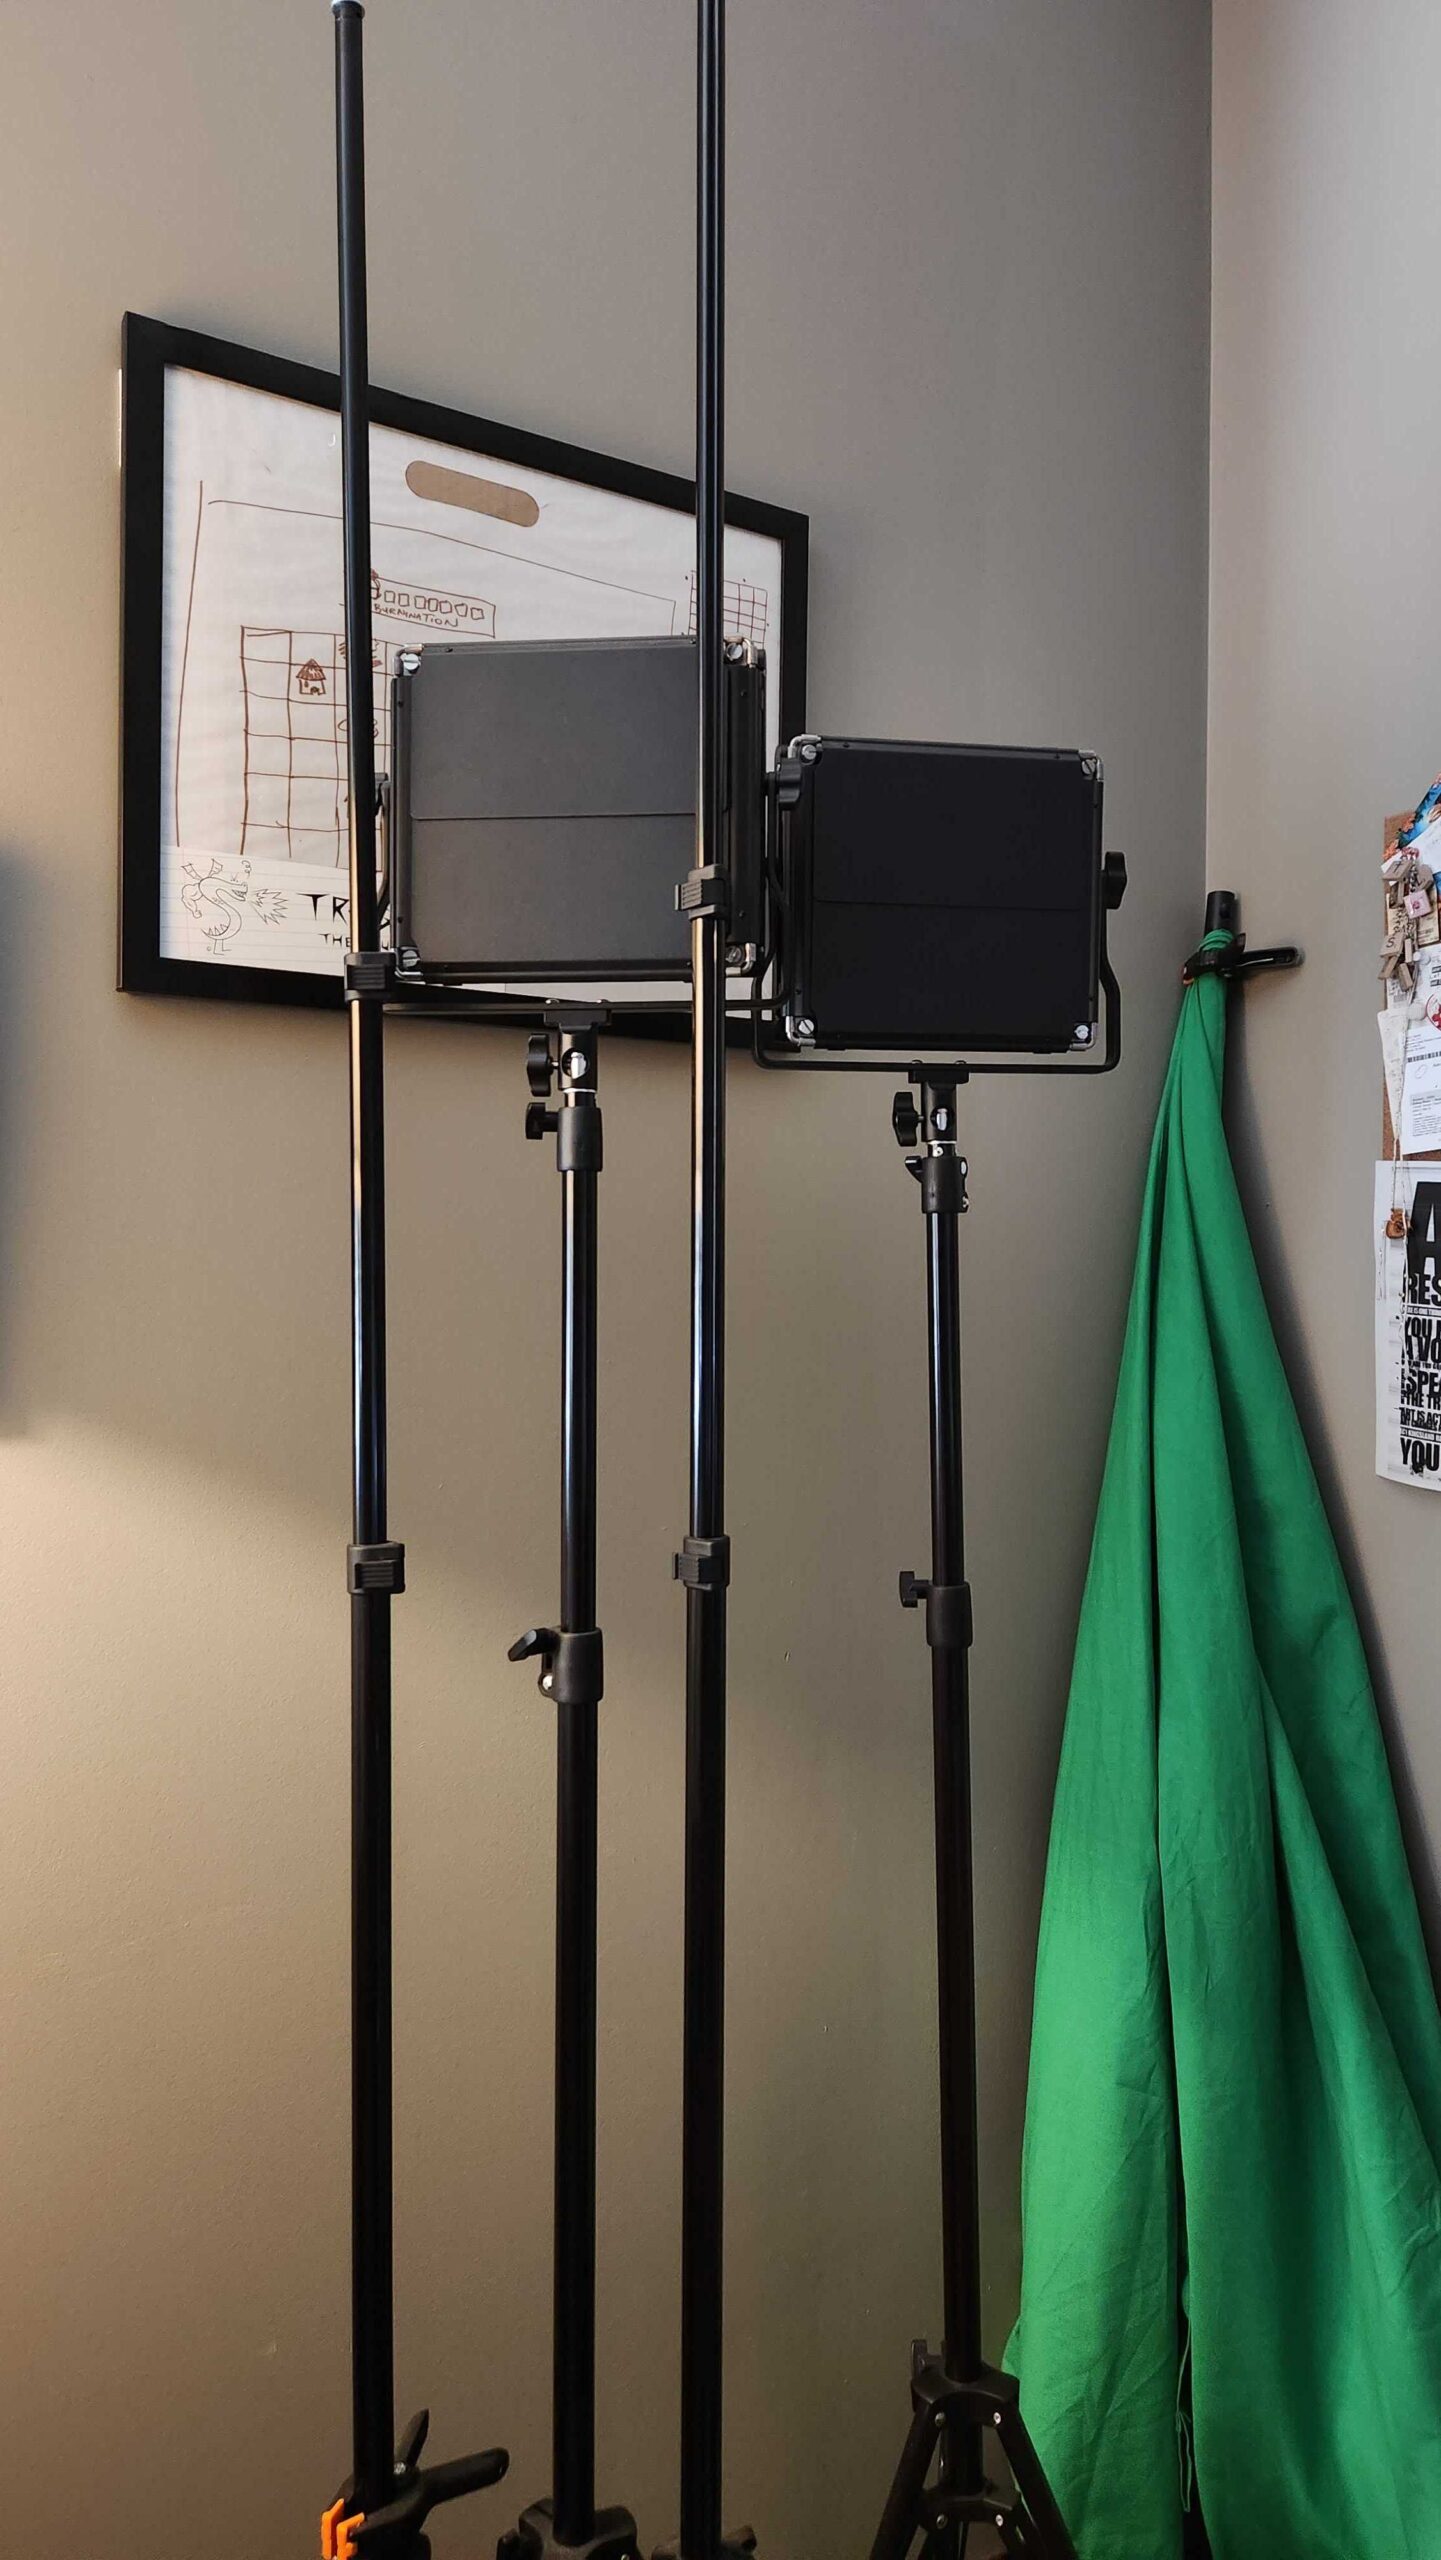
Ultimately, even with all this, I’m sorry to say that the answer to the question “can you build a professional-grade studio in your bedroom for under $500 USD?” was “not quite.” The Elgato camera is great for everyday use, but wasn’t quite able to create a high-enough resolution for what we wanted to do. This is because ultimately, we only wanted to capture a small portion of the 4K digital frame, and the Facecam doesn’t have a very good digital Zoom. In other words, it’s a great camera for capturing a whole room, but not so great for just capturing my torso while I’m talking. Because the space in this room was so bad, we needed something with a digital zoom that would compensate for how small and bad the actual video capture was – using AI trickery to fake information that wasn’t actually there in the recording.
Enter the OBSBOT Tail Air, a camera that cost $500, raising the cost of the whole setup to a little under $800 USD.
The amount of work we went through to make this cheap setup work was a little ridiculous, and involved even more than I shared here. If you have the time and budget to just rent a studio (or even a larger office space!) it will involve much less headache on your part. But we wanted to prove a point. Rayobyte’s core mission is to “bring great ideas to life” – to show that human ingenuity can overcome any scale or resource advantage. And I believe that in this case, that’s exactly what we did.
