Web Scraping with Node JS: Automatic Data Extraction from the Internet
We live in the digital age. The internet has a massive wealth of data that can be leveraged to unlock unlimited possibilities. But a unique process is required for automatically accessing and retrieving that data. That process is called web scraping and the popular JavaScript runtime Node JS provides tools for it.
This blog will introduce you to the concepts of web scraping with Node JS and guide you on getting started. However, make sure that you fully understand the concepts, the process, and your responsibilities before starting. Exercising caution and avoiding getting banned by websites will ensure your best chances of success.

What Is Web Scraping?

Web scraping is an automated approach to retrieving data from websites. It involves using software tools to retrieve and parse the HTML code of a webpage, extract the desired information, and store it in a structured format for further processing or use.
Web scraping allows you to gather data from multiple sources efficiently, making it invaluable for tasks such as market research, data analysis, content aggregation, and more. However, it’s important to respect website terms of service and legal restrictions, when web scraping with Node JS, for example.
About Node JS

Node JS is an open-source, non-synchronous, event-driven, lightweight server-side runtime environment. It enables running JavaScript code on many parallel connections on a server, making web scraping with Node JS popular.
A key feature of Node JS is an extensive package repository called the ‘npm’ (Node Package Manager). It contains many reusable libraries and modules easily importable into projects for web scraping with Node JS. This feature adds to the reputation of Node JS as a flexible and versatile tool.
What Is a Module In Node JS?
A module in Node JS is a reusable block of code packing its functionality. Reusable code can be structured in the form of small simple components that can be plugged and played anywhere in an application (say, for web scraping with Node JS), making them easier to maintain, share, and reuse.
To create a module in Node JS, you typically define your functionality in a separate JavaScript file and use the “module.exports” object to expose the functions or objects you want to make available outside of the module. For example, a module for a function involved in web scraping with Node JS.
Here is a simple example of a Node JS module “calculator.js”:
JavaScript Code:
// Define functionality for a basic calculator module
const add = (a, b) => a + b;
const subtract = (a, b) => a – b;
// Expose functions as part of the module’s public interface
module.exports = {
add,
subtract,
};
To use the “calculator.js” module in another file “add.js”, import it using the “require” function:
JavaScript Code:
// Import the calculator module
const calculator = require(‘./calculator’);
// Use the functions from the calculator module
const result1 = calculator.add(5, 3);
const result2 = calculator.subtract(10, 4);
console.log(result1); // Output: 8
console.log(result2); // Output: 6
This way, you can organize your code into modular components, making it easier to manage and maintain your Node JS applications. For example, an application developed for web scraping with Node JS.
How to Create A Module In Node JS?
Creating a module involves defining the functionality in a separate JavaScript file and exporting the desired functions, objects, or variables to make them accessible from other files. By creating a module, you can organize your code into a reusable and maintainable component, making it easier to manage larger Node JS applications, say, for web scraping with Node JS as an example.
Scrape at Scale With Chromium Stealth Browser
Self-hosted, Linux-first, compatible with all automation frameworks.

Appropriate file paths must be used when importing modules based on the structure of a project for web scraping with Node JS.
Here is a general step-by-step guide to creating a module:
1. Name a new JavaScript file
Generate a new JavaScript file and save it to your project directory. Give it a name for the functionality it provides. For example, if you are creating a utility module, you could name it “utils.js.”
2. Define the functionality
Write the code that implements the functionality of your module in the JavaScript file. This could include functions, objects, or variables that serve a specific purpose. For example, let’s create a simple module that calculates the area of a rectangle:
JavaScript Code:
// utils.js
const calculateRectangleArea = (width, height) => {
return width * height;
};
module.exports = calculateRectangleArea;
In the example above, the “calculateRectangleArea” function is defined and assigned to “module.exports.” This makes it accessible from other files that import this module.
3. Reveal the module’s functionality
Use “module.exports” to reveal the required functions, objects, or variables of your module. You can assign a single value directly to “module.exports” or create an object including multiple values. Here is an example that exports multiple functions:
JavaScript Code:
// utils.js
const calculateRectangleArea = (width, height) => {
return width * height;
};
const calculateCircleArea = (radius) => {
return Math.PI * radius * radius;
};
module.exports = {
calculateRectangleArea,
calculateCircleArea,
};
In this case, both the “calculateRectangleArea” and “calculateCircleArea” functions are exported as part of an object.
4. Use the module in another file
To use the module you created in another file, you need to import it using the “require” function. In the file where you want to use the module’s functionality, use “require” to import the module and assign it to a variable. Then, you can access the exported functions, objects, or variables using the variable name. Here is an example:
JavaScript Code:
// application.js
const utils = require(‘./utils’);
const rectangleArea = utils.calculateRectangleArea(5, 3);
console.log(rectangleArea); // Output: 15
const circleArea = utils.calculateCircleArea(2);
console.log(circleArea); // Output: 12.566370614359172
In this example, you import the “utils” module and use the exported functions “calculateRectangleArea” and “calculateCircleArea.”
You have finished creating the module. It is now ready to be imported into other files of your application for web scraping with Node JS.
How to Import a Module In Node JS?
The “require” function can be used to import a module. The function allows you to import and use functionality from other JavaScript files or modules within your application. You can follow the steps below to import a module:
1. Create or locate the module
Ensure that you have the JavaScript file or module found and ready to import. It could be a module you created, from a third-party library, or a Node JS built-in module.
2. Run “require”
Run the “require” function in the file you want to load the module’s functionality. Provide the path to the module as a parameter to the function. The path to the module can be absolute or relative. Here is an example:
JavaScript Code:
const moduleVariable = require(‘./moduleFile’);
In the example above, you are importing the module from the file named “moduleFile.js” located in the same directory as the current file. The imported functionality will be assigned to the “moduleVariable.”
3. Use the imported functionality
After importing the module, you can use its exported functions, objects, or variables. You can access the imported functionality through the variable you assigned it to in the import statement. Here is an example:
JavaScript Code:
const moduleVariable = require(‘./moduleFile’);
moduleVariable.someFunction (); // Use a function from the imported module
console.log(moduleVariable.someVariable); // Access a variable from the imported module
In the example above, you assume that the “moduleFile.js” exports a function named “someFunction” and a variable named “someVariable.” You can call “someFunction ()” and access “someVariable” using the “moduleVariable.”
You have finished importing the module. It is now ready for use in files of your application for web scraping with Node JS. Make sure the module file is accessible from the file you are importing into and ensure correct file paths when using “require.”
Best Node JS Tutorial For Beginners

The best Node JS tutorial for beginners is Node JS official documentation. It is an exhaustive resource for learning about Node JS, covering everything from getting started to advanced topics. But feel free to try these free tutorials to match your preferences. Here are some recommendations for your quick reference:
- Node.js Tutorial – W3Schools
- Node JS API Development for Beginners – Udemy
- Introduction to Node.js – edX
- Getting Started with Free Nodejs Basic Course for Beginners – Simplilearn
- Learn Node.js – Codecademy
- Learn Node.js – Most Recommended Node.js Tutorials – Hackr.io
Practice coding and independently experiment to accelerate your learning of concepts for web scraping with Node JS.
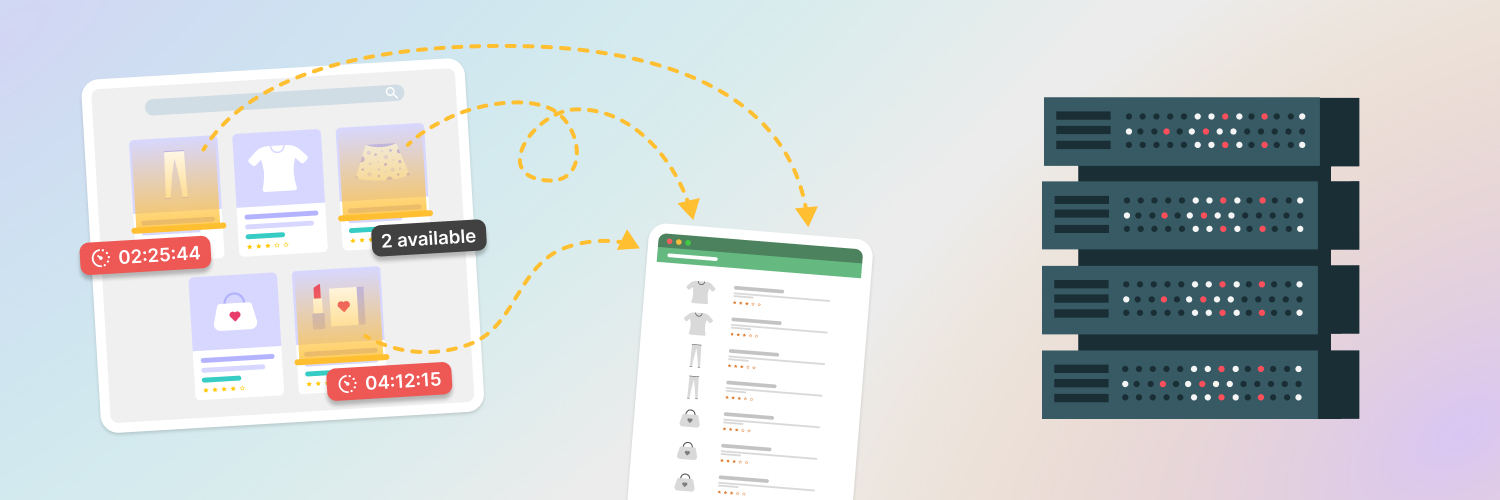
Web Scraping With Node JS

Web scraping with Node JS refers to the process of programmatically extracting data from websites using Node JS. It involves making HTTP requests to websites, retrieving HTML, parsing it to extract the desired data, and finally storing or processing that data for further use.
Several libraries are available for web scraping with Node JS. You can find them described below.
Learn Web Scraping With Node JS
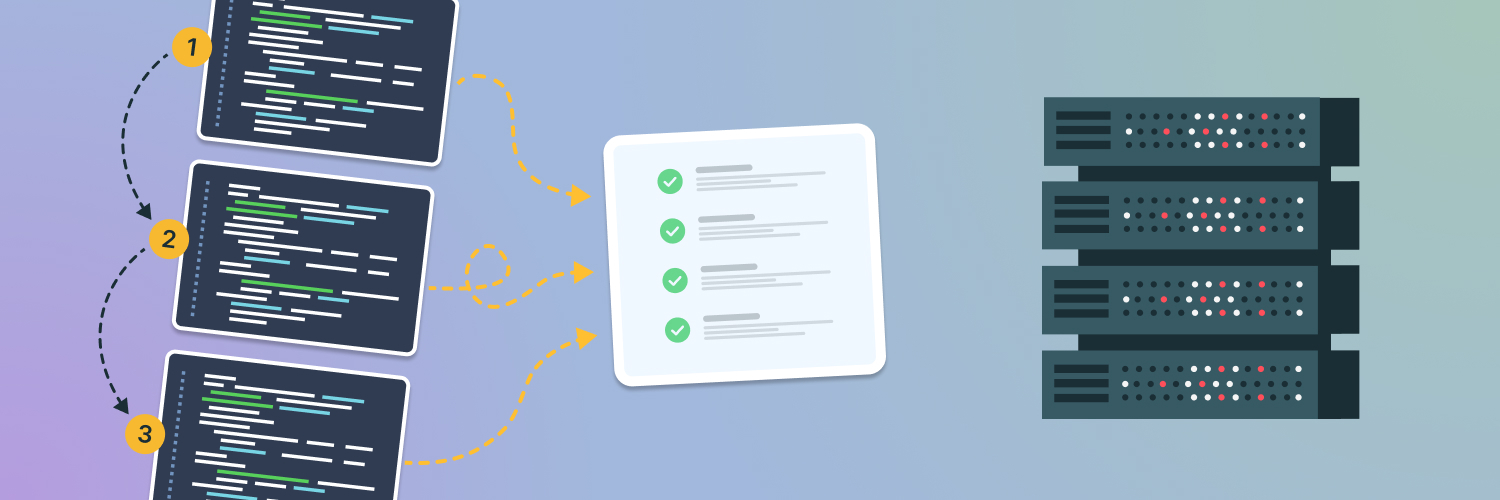
Here is a general step-by-step guide on web scraping with Node JS. By following these steps, you can start building your project. Experiment with different libraries and techniques to suit your specific scraping needs:
1. Understand everything about web scraping
Web scraping has legal and technical implications. Understand what is a web scraping implication and how to apply best practices. Always act responsibly, respect the website’s robots.txt file, and avoid flooding the server with excess requests.
2. Choose a library for web scraping with Node JS
There are several libraries available for web scraping with Node JS. Pick the best ones for your project’s requirements. Here are some recommendations for your quick reference:
- Cheerio: Cheerio is a popular library for parsing HTML content and extracting data using jQuery-like syntax. It is lightweight and easy to use, making it a good choice for simple scraping tasks.
- Puppeteer: Puppeteer is a library for controlling headless Chrome or Chromium browsers. It can be used for scraping dynamic websites that require JavaScript rendering. Puppeteer provides a high-level API for interacting with the browser and extracting data.
- Axios: Axios is a Promise-based HTTP client for making HTTP requests in Node JS. It can be used for scraping websites that do not require JavaScript rendering. Axios is easy to use and provides good performance.
- Request: Request is another HTTP client library for making HTTP requests in Node JS. It is similar to Axios but provides more options for customizing requests. Request is a good choice for scraping websites that require authentication or complex request headers.
- Simplecrawler: Simplecrawler is a library for crawling and scraping websites. It provides a simple and flexible API for making HTTP requests and parsing HTML content. Simplecrawler is a good choice for scraping large websites with many pages.
3. Prepare your project
Initialize a new Node JS project by running command “npm init” in the project directory. Install necessary dependencies like “axios” or “node-fetch” to make HTTP requests and extract the desired HTML content of the webpage to be scraped.
4. Use a proxy for web scraping with Node JS
Use proxies to prevent bans while web scraping with Node JS. The speed and quality of a proxy is important. Fortunately, there is an excellent solution called Rayobyte Proxies that provides both and other features. Rayobyte provides a wide range of proxy options for web scraping with Node JS, which include:
- a) Residential Proxies: These privacy proxies are for scraping websites without worrying about the number of requests being sent to them. You would appear as one of the many real users around the world. So, your requests appear human-like to the websites.
The proxies also include Rayobyte’s geo-targeting function and Proxy Pilot intelligence software. The former allows data extraction from websites adaptively displaying information based on region, and the latter routes your traffic to the best Residential Proxies.
- b) ISP Proxies: These ISP-sourced proxies are for quickly scraping many different sites, with fewer bans than data center proxies. They come with fast Comcast and Verizon IPs, unrestricted bandwidth, and threads.
- c) Data Center Proxies: These location-hiding proxies are for businesses performing large multi-data collection. The proxies allow repeatedly sending requests to websites without risking bans. Your identity will be concealed and your approximate location will be modified.
- d) Rotating ISP Proxies: These dynamic IP proxies use a pool of ISP proxies and provide a new IP address for each new connection, allowing you to stay undetected by websites that monitor IP addresses. The proxies can be configured to change IP addresses randomly or at set intervals.
- e) Mobile Proxies: These proxies use mobile devices and their SIM cards to provide a real IP address sourced from the telecom service provider. You will appear as a mobile user just browsing the internet, which is useful for testing mobile apps, verifying ads, or collecting data.
Choose the right proxies for your project needs depending on the scope, desired level of anonymity, and types of websites you wish to scrape.
Scrape at Scale With Chromium Stealth Browser
Self-hosted, Linux-first, compatible with all automation frameworks.
5. Make an HTTP request
Use a library like “axios” or “node-fetch” to dispatch an HTTP GET request to the target website and extract the desired HTML content. Here is an example using “axios”:
JavaScript Code:
const axios = require(‘axios’);
axios.get(‘https://www.example.com’)
.then(response => {
const html = response.data;
// Continue with scraping logic
})
.catch(error => {
console.error(‘Error:’, error);
});
6. Parse the data
When you have the data from web scraping with Node JS, parse it to extract what’s desired. You can use libraries like “cheerio,” “jsdom,” or “parse5” to parse the HTML and manipulate the DOM. Here is an example using “cheerio”:
JavaScript Code:
const cheerio = require(‘cheerio’);
const $ = cheerio.load(html);
// Use Cheerio’s selectors and methods to extract data from the DOM
7. Extract data using selectors
With “cheerio,” you can use CSS selectors or jQuery-like functions to select elements and retrieve their content as part of your web scraping with Node JS. Here is an example of extracting the text of all “<h1>” tags:
JavaScript Code:
$(‘h1’).each((index, element) =>
{console.log($(element).text ());
});
8. Handle pagination or navigate to other pages
If the data you want from web scraping with Node JS is spread across several pages, you must handle pagination. This could involve making additional HTTP requests to fetch subsequent pages and repeating the scraping process. Use the appropriate techniques based on the structure of the website you are web scraping with Node JS.
9. Store or process the scraped data
After data retrieval, store or process it as desired.
Scrape Data From Websites Using Node JS
Some websites need JavaScript to load content, others don’t. You can perform web scraping with Node JS on both types of websites. Follow the quick start guides below to learn how:
Scraping Websites Needing JavaScript Loading
There are certain websites needing JavaScript to load content. Puppeteer can be used to scrape data from a website with Node JS. The library supports the automation of exchanges with websites and the running of JavaScript code for web scraping with Node JS. Here is a step-by-step guide to get started:
1. Install Puppeteer
Start by installing the Puppeteer package in your project for web scraping with Node JS. Use the following command in your project directory:
npm install puppeteer
2. Require Puppeteer and set up a browser instance
In your scraping script, require the Puppeteer library and create a new browser instance. Here is an example:
JavaScript Code:
const puppeteer = require(‘puppeteer’);
(async () => {
// Launch a new browser instance
const browser = await puppeteer.launch ();
// Create a new page
const page = await browser.newPage ();
// Your scraping logic goes here
// Close the browser
await browser.close ();
}) ();
3. Navigate to the target website and wait for it to load
Use the “page.goto ()” method to navigate to the URL of the website you want to scrape. As the content may load asynchronously, wait for the desired elements to be visible or accessible using the “page.waitForSelector ()” or “page.waitForXPath ()” methods.
4. Extract the desired data
After loading the content, you can use Puppeteer’s API to interact with the page. You can retrieve data, manipulate the Document Object Model (DOM), click buttons, fill out forms, and extract the desired data. For example, you can use “page.evaluate ()” to run your JavaScript code in the page context and retrieve data from the DOM.
5. Handle pagination or dynamic content
If the website has pagination or dynamic content that requires further interaction, you can simulate clicks or scroll events using Puppeteer to load additional data. Repeat the necessary steps to scrape the desired data from each page or as the content updates.
6. Store or process the scraped data
After data retrieval, store or process it as desired.
Refer to the Puppeteer documentation for more information.
Scraping Websites Not Needing JavaScript Loading
To scrape websites not needing JavaScript to load content, you can use Cheerio. The library uses a syntax similar to jQuery for parsing data. Here is a step-by-step guide to getting started with your web scraping with Node JS:
1. Install Cheerio and other required packages
Start by installing the Cheerio package and other necessary dependencies for your web scraping with Node JS. You can use npm to install packages. Run the following command in your project directory:
npm install cheerio
Use the “http” or “request” module to fetch the HTML content: Depending on your preference, you can use the built-in “http” module or the “request” module to send an HTTP GET request to the website and retrieve data content. Here is an example using the “http” module:
JavaScript Code:
const http = require(‘http’);
http.get(‘http://example.com’, (res) => {
let html = ”;
res.on(‘data’, (chunk) => {
html += chunk;
});
res.on(‘end’, () => {
// Your scraping logic goes here
});
}).on(‘error’, (err) => {
console.error(‘Error:’, err);
});
2. Load the HTML content into Cheerio
When you have the data, you can load it into Cheerio to create a virtual DOM. Cheerio provides a familiar jQuery syntax for traversing and manipulating the DOM. Here is an example:
JavaScript Code:
const cheerio = require(‘cheerio’);
const $ = cheerio.load(html);
3. Extract the desired data using Cheerio’s selectors
You can use Cheerio’s selectors and methods to extract the desired data from the HTML. For example, you can use CSS selectors or jQuery-like functions to select elements and retrieve their content. Here is a simple example:
JavaScript Code:
$(‘h1’).each((index, element) => {
console.log($(element).text ());
});
4. Store or process the scraped data
After data retrieval, store or process it as desired.
Refer to the Cheerio documentation for more information.
Final Thoughts

Applying Node JS with proxies can be a viable option for your web scraping project. Rayobyte proxies provide a wide range of options for web scraping with Node JS. When used with Rayobyte’s Web Scraping API, you get a total solution for hassle-free, uninterrupted, private, and secure web scraping. Check if Rayobyte’s Web Scraping API is the right solution for you.
Here are some final considerations for applying Node JS:
- Non-synchronous nature: Node JS is non-synchronous, which can be advantageous when dealing with multiple requests and parallel scraping tasks. It allows you to efficiently manage I/O operations, making it ideal for scraping tasks using multiple HTTP requests to fetch data within a website or different websites.
- Scalability: Node JS’s scalability features, such as its event-driven architecture and support for clustering, can be beneficial for scraping large volumes of data or running scraping tasks in a distributed manner across multiple processes or servers.
- JavaScript ecosystem: Node JS is based on JavaScript, a popular and expansive ecosystem with libraries and tools supporting web scraping. Use it to find what you need for speeding up development and solving problems.
- Flexibility: When Node JS is used with tools like Puppeteer or Cheerio, data can be scraped from websites needing or not needing JavaScript and dynamic content to load.
- Self-education: With existing knowledge of JavaScript and Node JS, you can learn web scraping and how to implement it, thus upgrading your skillset.
Ultimately, it is not only your knowledge of concepts, but also your understanding of legal and technical consequences, application of best practices, being responsible, and knowledge of limitations, that will ensure your best chances of success.
Scrape at Scale With Chromium Stealth Browser
Self-hosted, Linux-first, compatible with all automation frameworks.
The information contained within this article, including information posted by official staff, guest-submitted material, message board postings, or other third-party material is presented solely for the purposes of education and furtherance of the knowledge of the reader. All trademarks used in this publication are hereby acknowledged as the property of their respective owners.